CertBot增加域名
CertBot增加域名
查询当前所有域名
1 | [root@iZj6cgoyl5x6opizfwaukrZ ~]# certbot certificates |
如果你想删除一个域名
1 | sudo certbot revoke --cert-name 123.com |
如果你想增加一个域名的https
1 | sudo certbot -d your.new.tld --expand |
查询当前所有域名
1 | [root@iZj6cgoyl5x6opizfwaukrZ ~]# certbot certificates |
如果你想删除一个域名
1 | sudo certbot revoke --cert-name 123.com |
如果你想增加一个域名的https
1 | sudo certbot -d your.new.tld --expand |
yum list installed mysql*yum卸装
1 | yum remove mysql-community-client mysql-community-common mysql-community-libs |
rpm查看安装
1 | rpm -qa | grep -i mysql |
rpm卸装
1 | rpm -e mysql57-community-release-el7-9.noarch |
清理残余
1 | whereis mysql或find / -name mysql 删除文件 |
删除配置
1 | rm –rf /usr/my.cnf |
剩余配置检查
1 | chkconfig --list | grep -i mysql |
1 | https://dev.mysql.com/downloads/repo/yum/ |
1 | wget http://dev.mysql.com/get/mysql57-community-release-el7-8.noarch.rpm |
yum repolist enabled | grep "mysql.*-community.*"yum install mysql-community-serversystemctl start mysqldsystemctl enable mysqldgrep 'temporary password' /var/log/mysqld.log1 | Unable to find method 'org.gradle.api.tasks.TaskInputs.property(Ljava/lang/String;Ljava/lang/Object;)Lorg/gradle/api/tasks/TaskInputs;'. |
将
classpath ‘org.greenrobot:greendao-gradle-plugin:3.2.2’
升级至
classpath ‘org.greenrobot:greendao-gradle-plugin:3.3.0’
即可解决
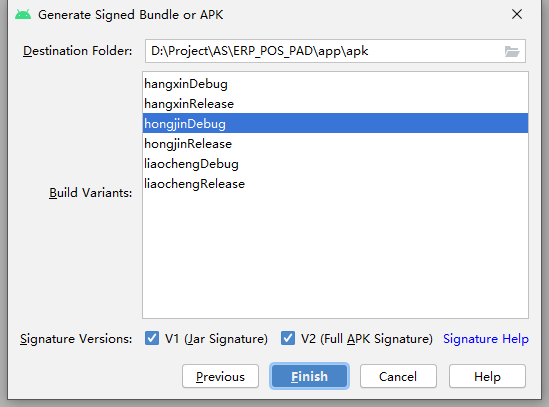
修改输出的文件夹位置
1 | D:\Project\AS\Label\app\src\main\java\com\tscale\ttouch\label\di\component\AppComponent.java:36: 错误: [Dagger/MissingBinding] [dagger.android.AndroidInjector.inject(T)] com.tscale.ttouch.label.ui.function.FunctionActivity cannot be provided without an @Inject constructor or an @Provides-annotated method. This type supports members injection but cannot be implicitly provided. |
这个问题是因为FunctionActivity错误,应该为SettingActivity
1 | D:\Project\AS\Label\app\src\main\java\com\xxx\xxx\label\LabelApp.java:44: 错误: 找不到符号 |
最后发现是一个公共对话框的provider没有导入
1 | lintOptions { |
1 | dexOptions { |
npm install -g @ionic/cli
npm uninstall -g ionic
ionic start projectName <mode>tabs
ionic serve
ionic capacitor add android
ionic cordova prepare android
ionic cordova run android -l
修改 projectName\platforms\android\cordova\lib\builders\ProjectBuilder.js中的gradle版本